Sep 27th 2021
E210 Toyota Corolla Sedan and Hatchback Front Strut Brace Installation Instruction
The more modern the vehicle get, the more nuts and bolts and plastic trims get complicated..
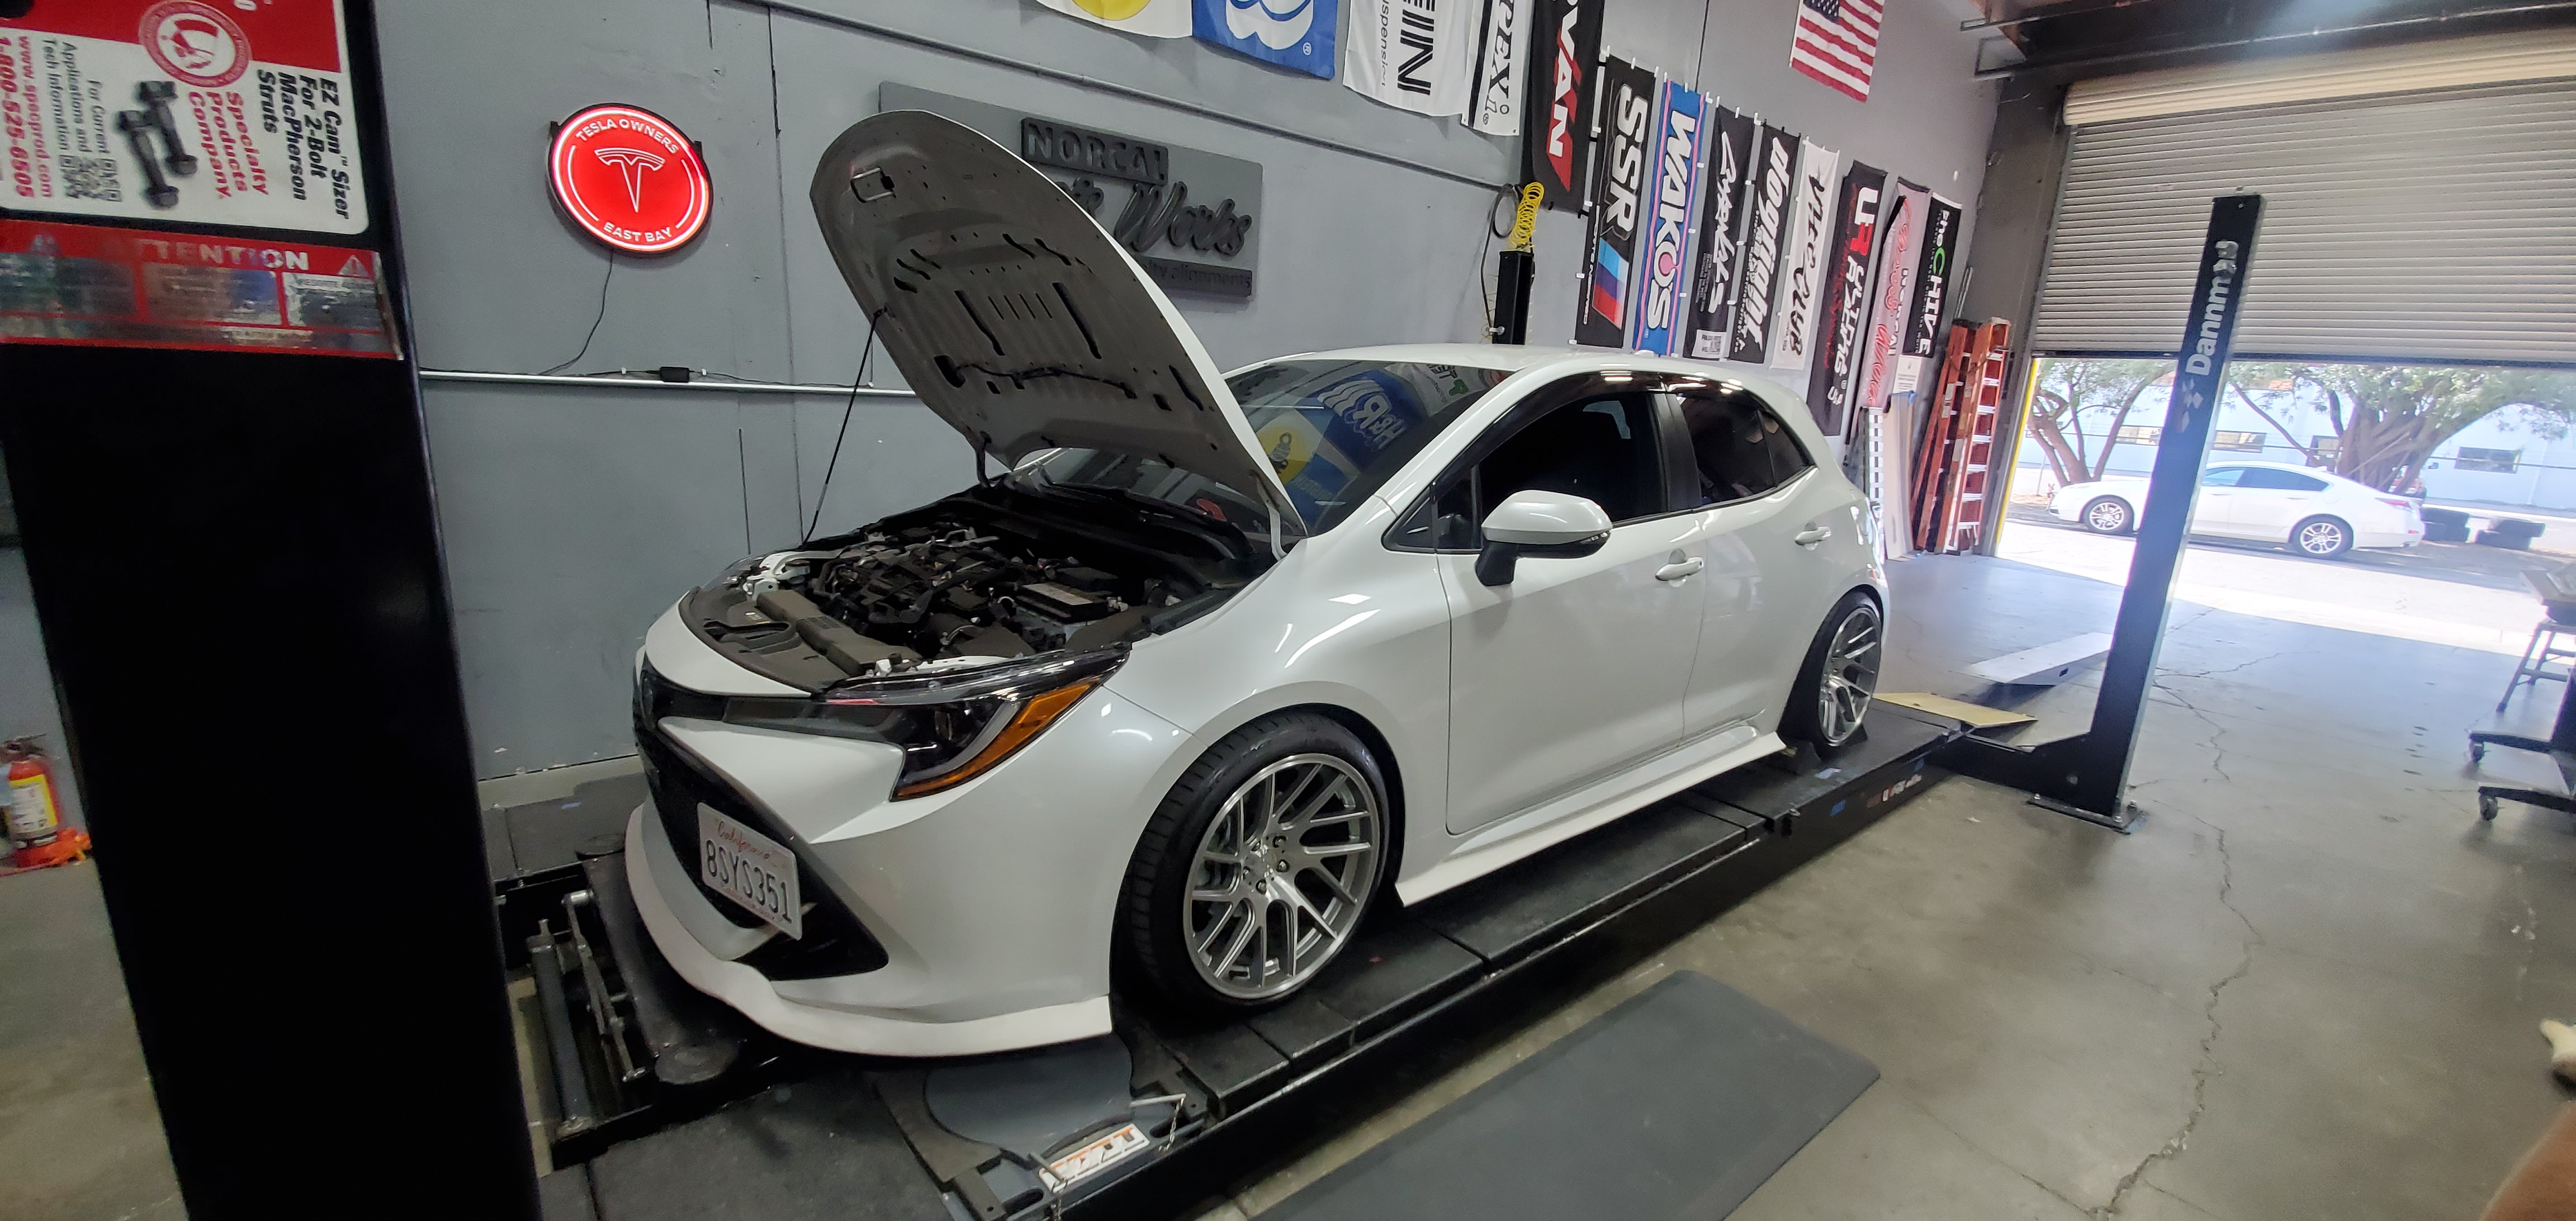
Our test subject was a 2021 Toyota Corolla E210 Hatchback. We did experience the intense removal and installation of the front strut brace which require to remove many components. From the removal of the plastic trim cowl to the windshield whipper motors to the rain guard shield.
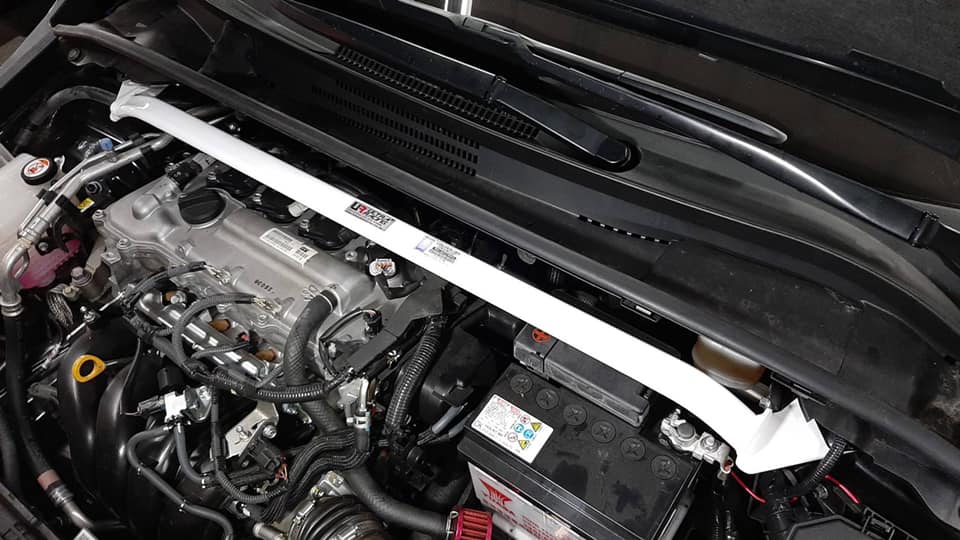
Our brace will be installed below the rain guard shield. Our estimated time is somewhere around 1 hour to 1.5 hours
We have gather these detail instruction from ALLDATA Repair Manual. We are also including torque specs for mounting bolts. We recommend contact your local dealer for additional specs if needed.
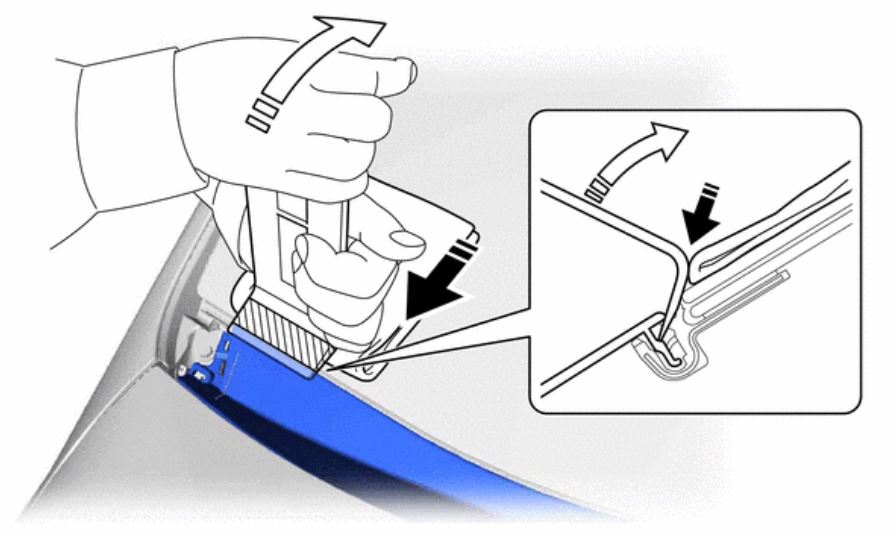
The following section is crucial. A plastic trim tool must be used. If any other tool is used, it may damage the windshield. This trim tool is used to help pry off the plastic cowl from the windshield snap channel.
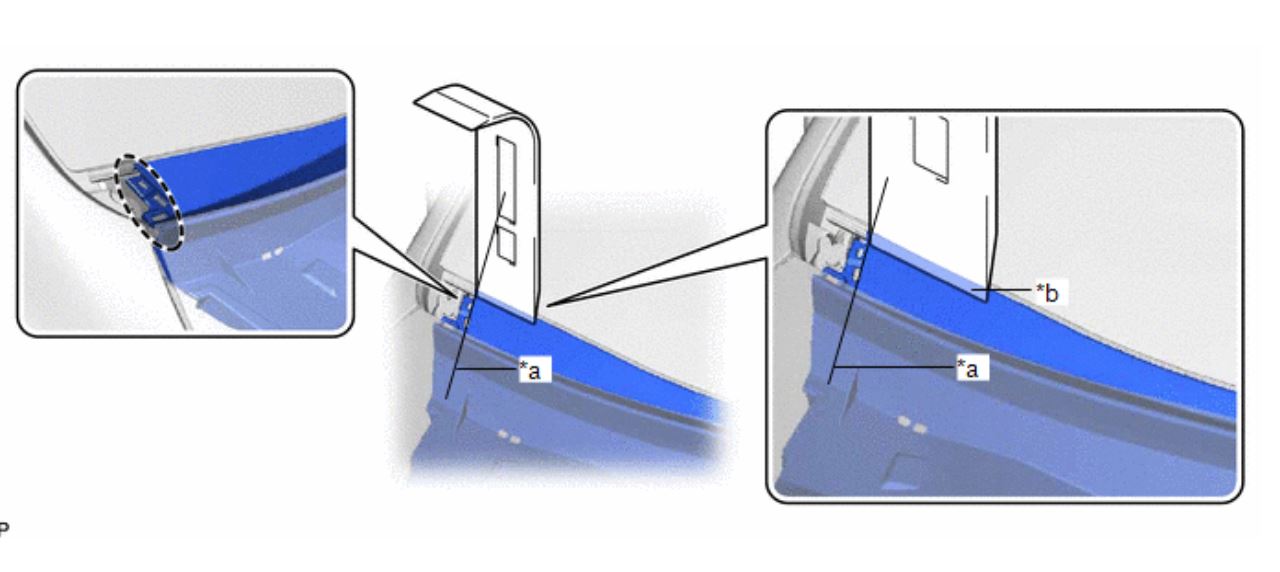
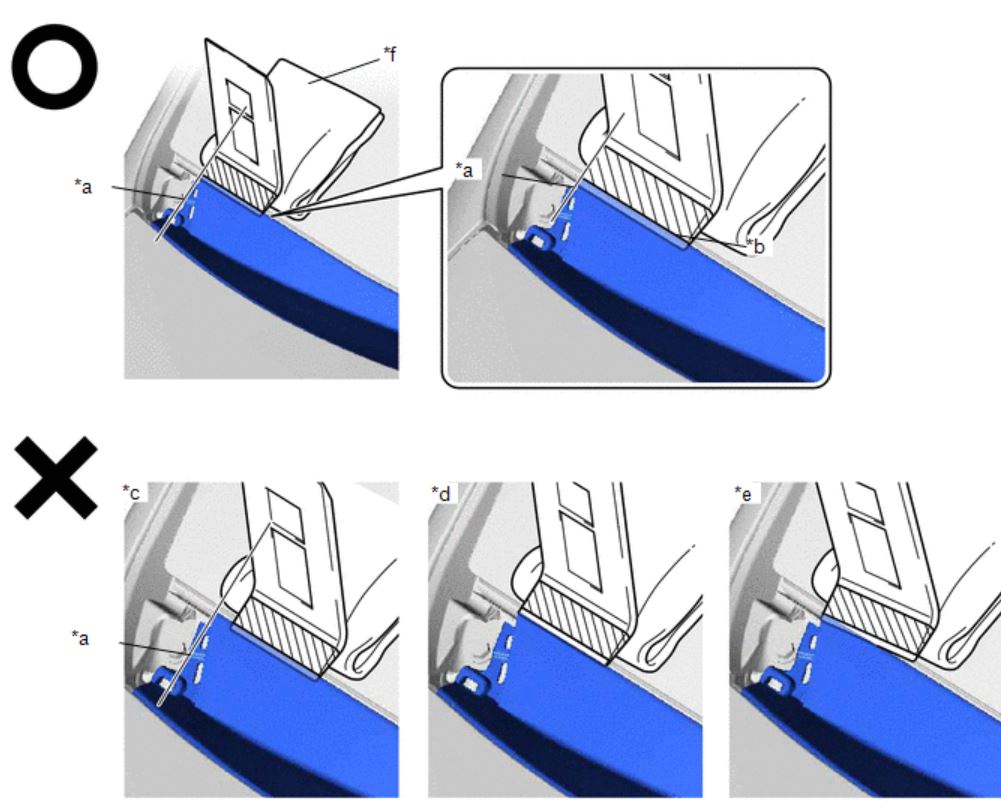
PLEASE Use a soft cloth against the windshield glass. Pry up and over and work your way from the outside going inward and stopping in the middle of the plastic trim.
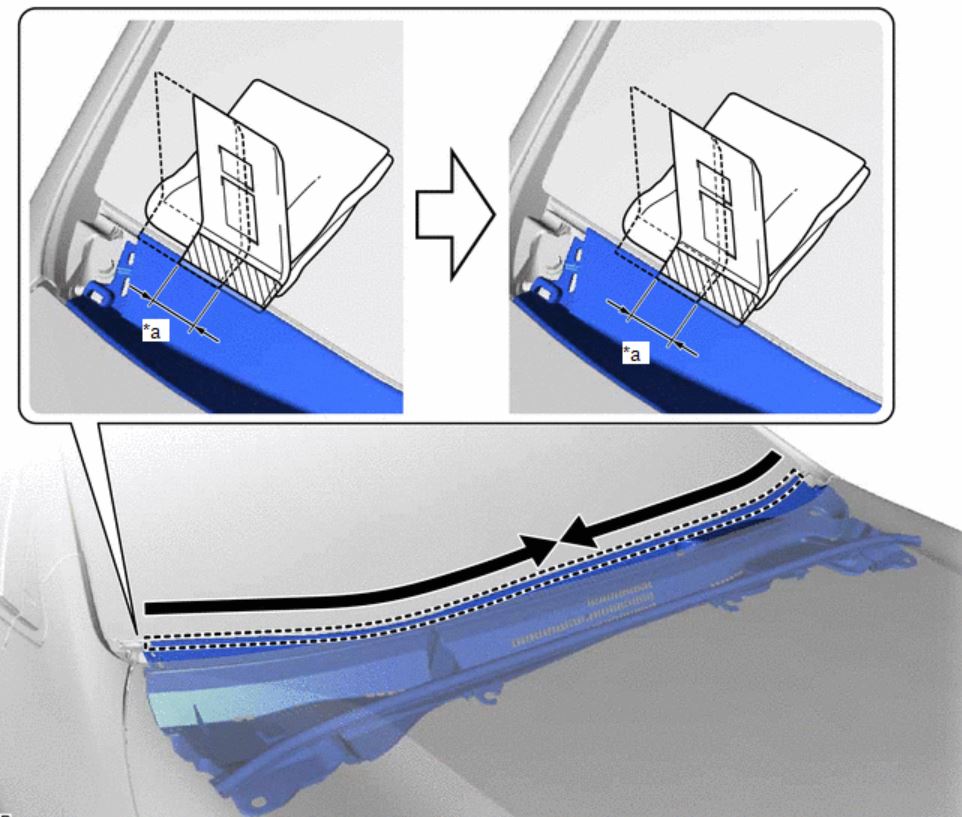
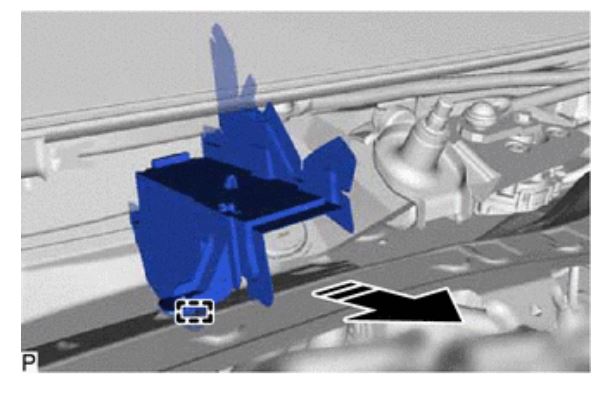
Once the plastic cowl is removed, the entire whipper motor assembly will need to be removed.
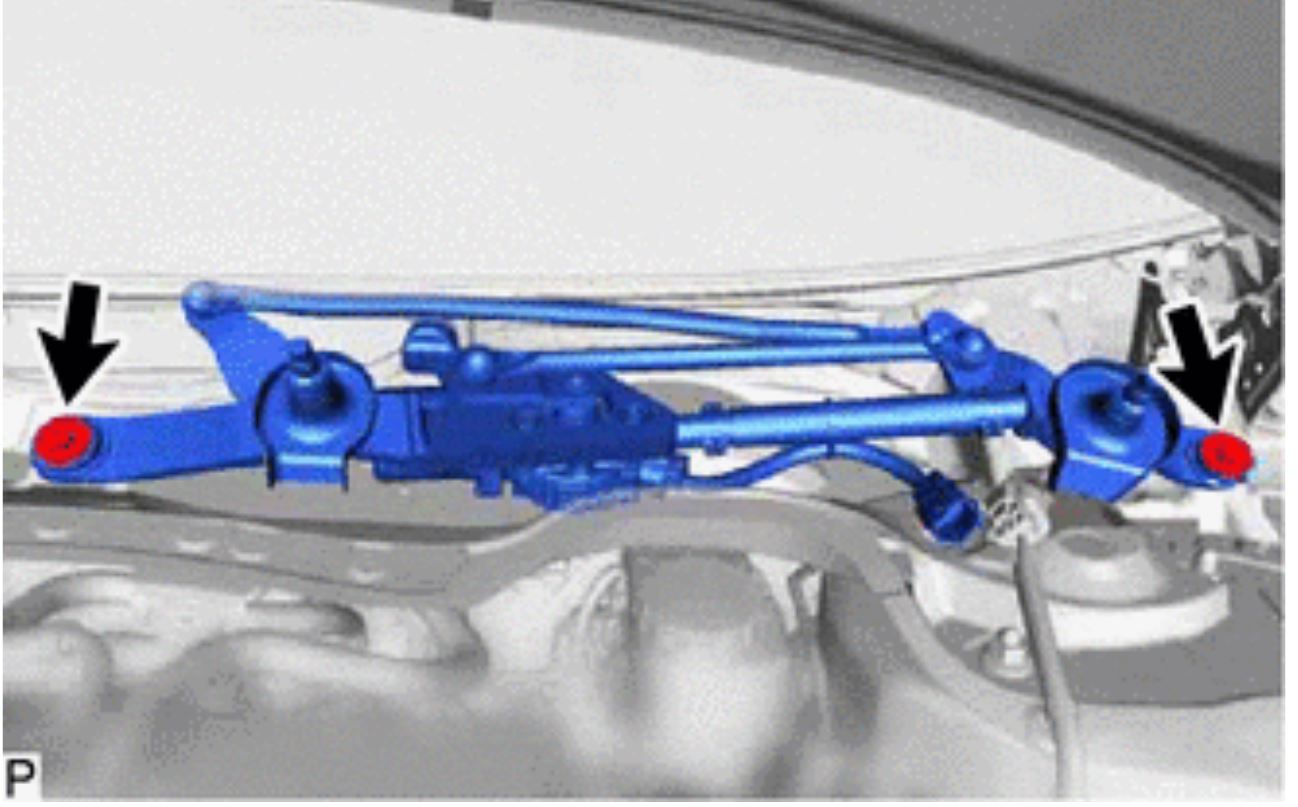
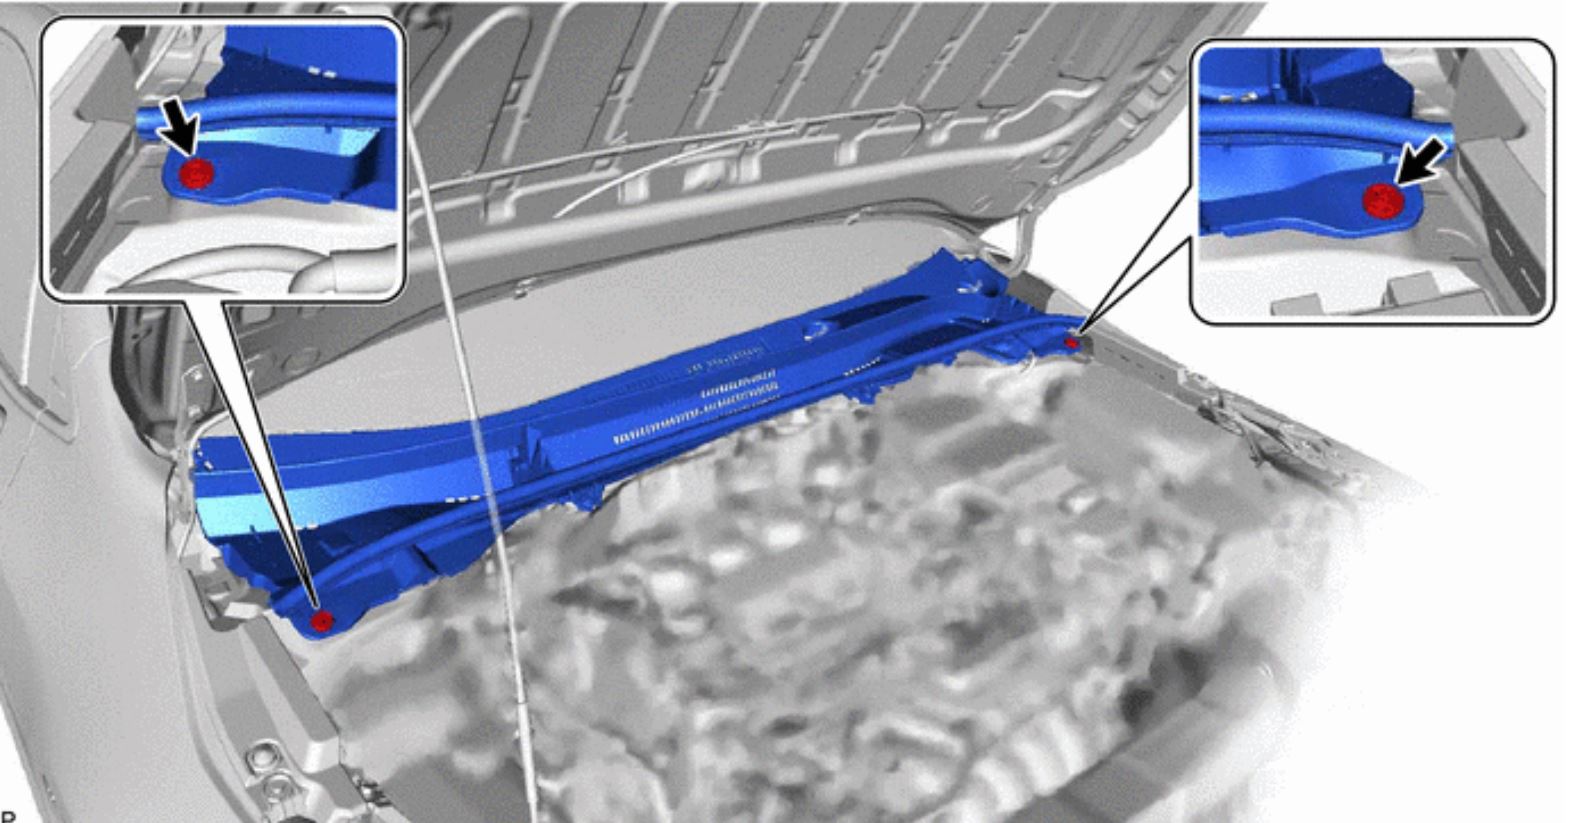
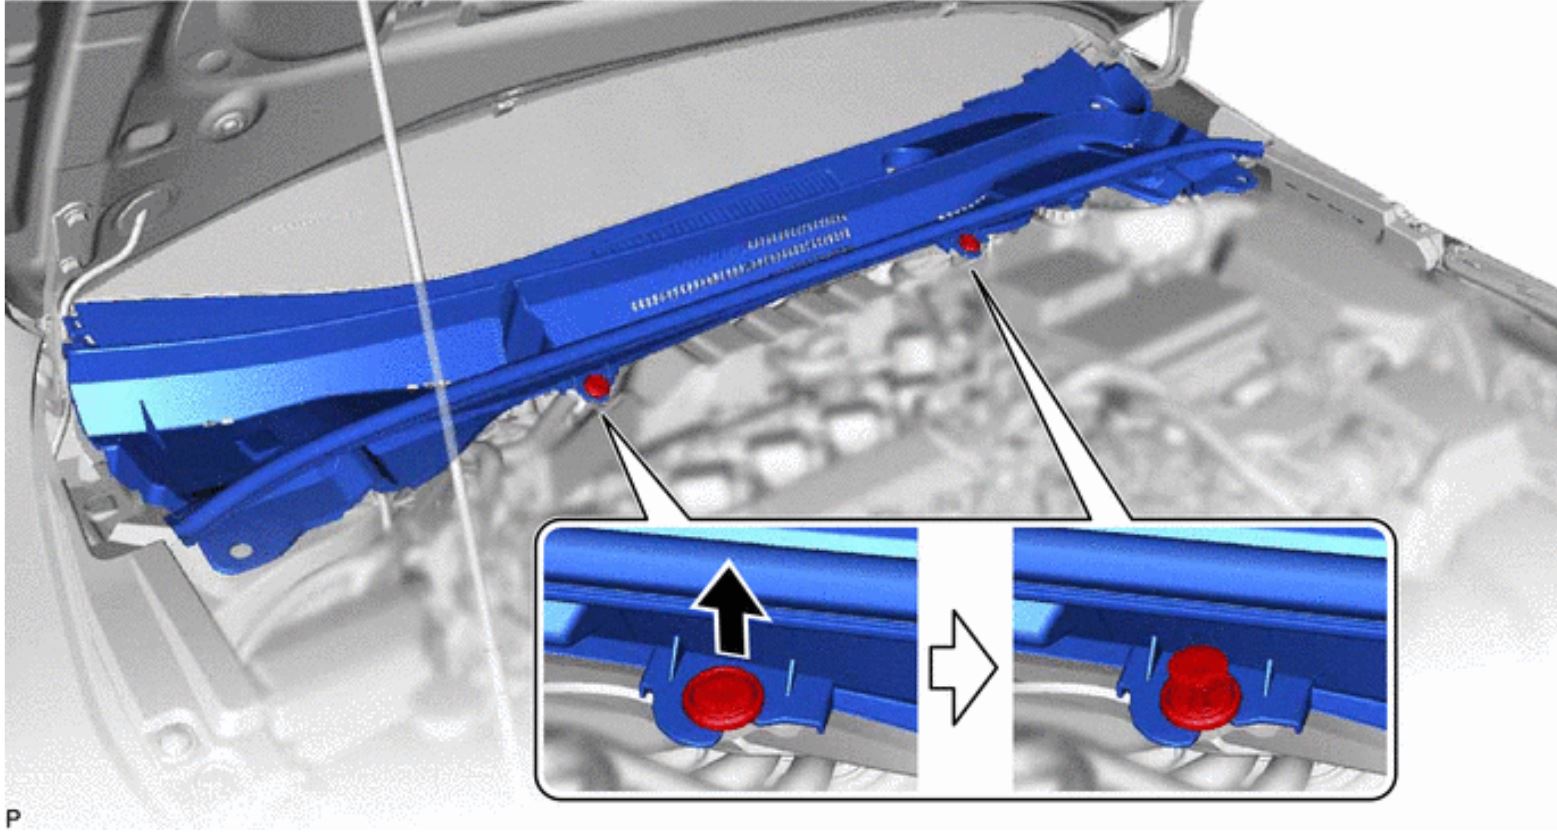
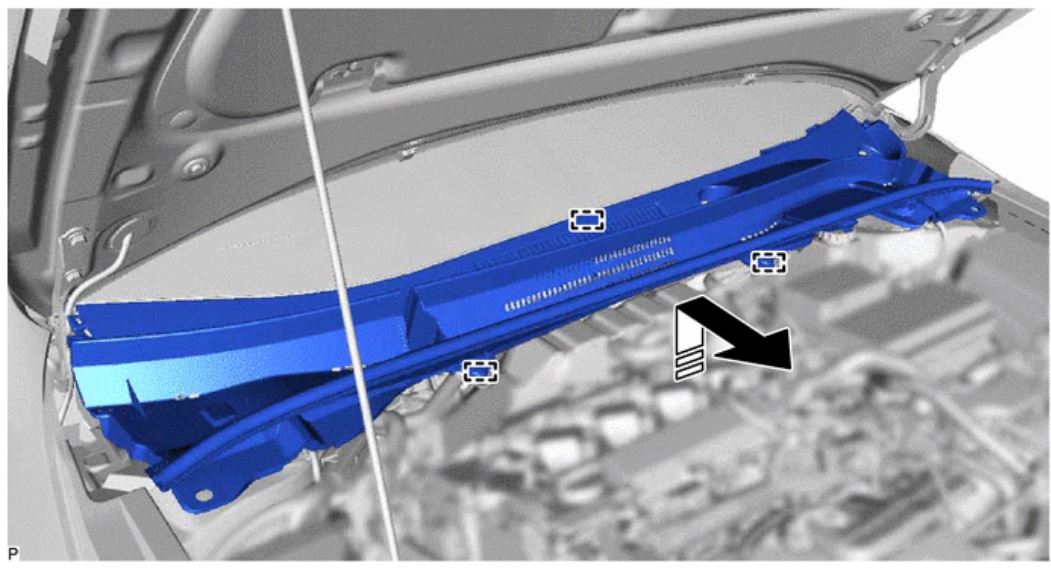
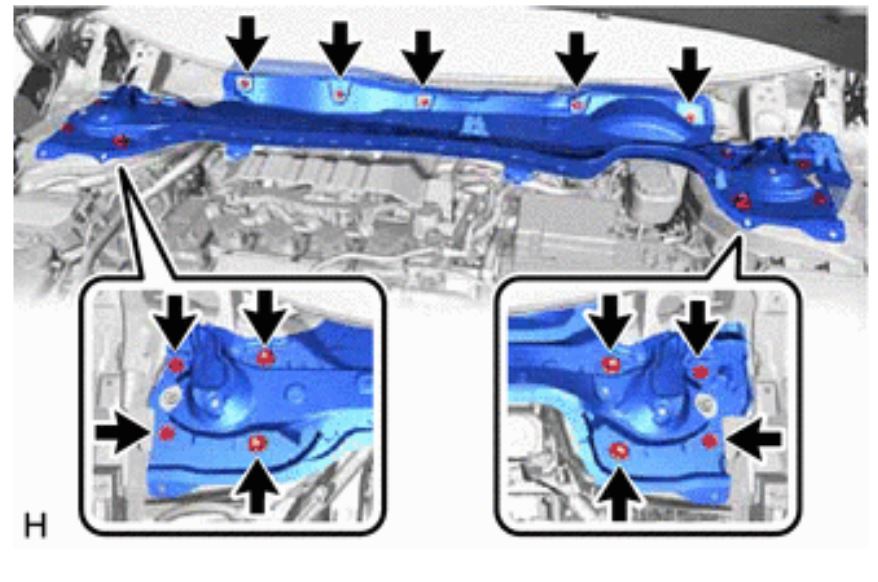
As soon as you have have the whipper motor removed, you then will have access to the rain guard shield.
Sub-assembly will have 9 bolts and 4 nuts. The Ultra Racing strut brace is installed below the rain guard.
Torque :
Bolt -
12 Nm (122 kgf-cm, 9 ft-lbf)
Torque :
Strut Nut -
50 Nm (510 kgf-cm, 37 ft-lbf)
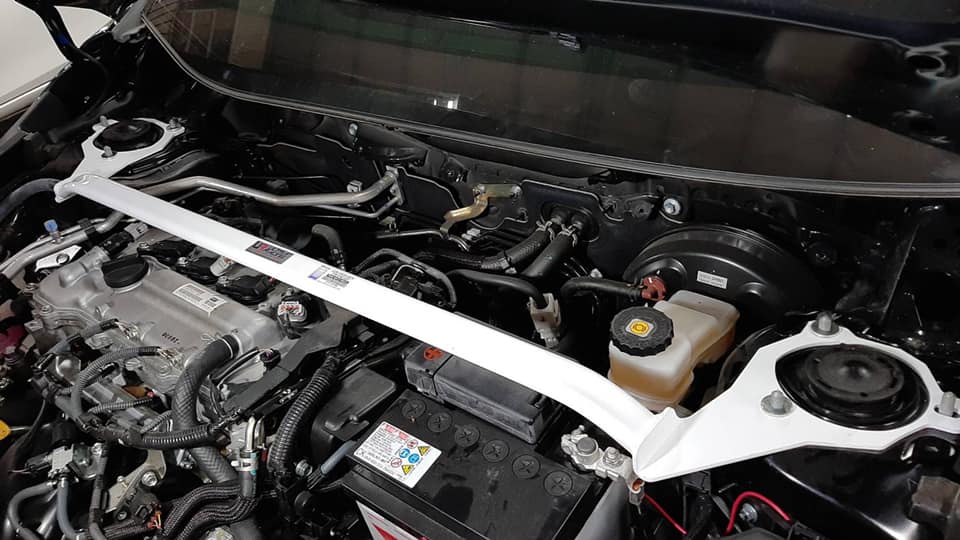
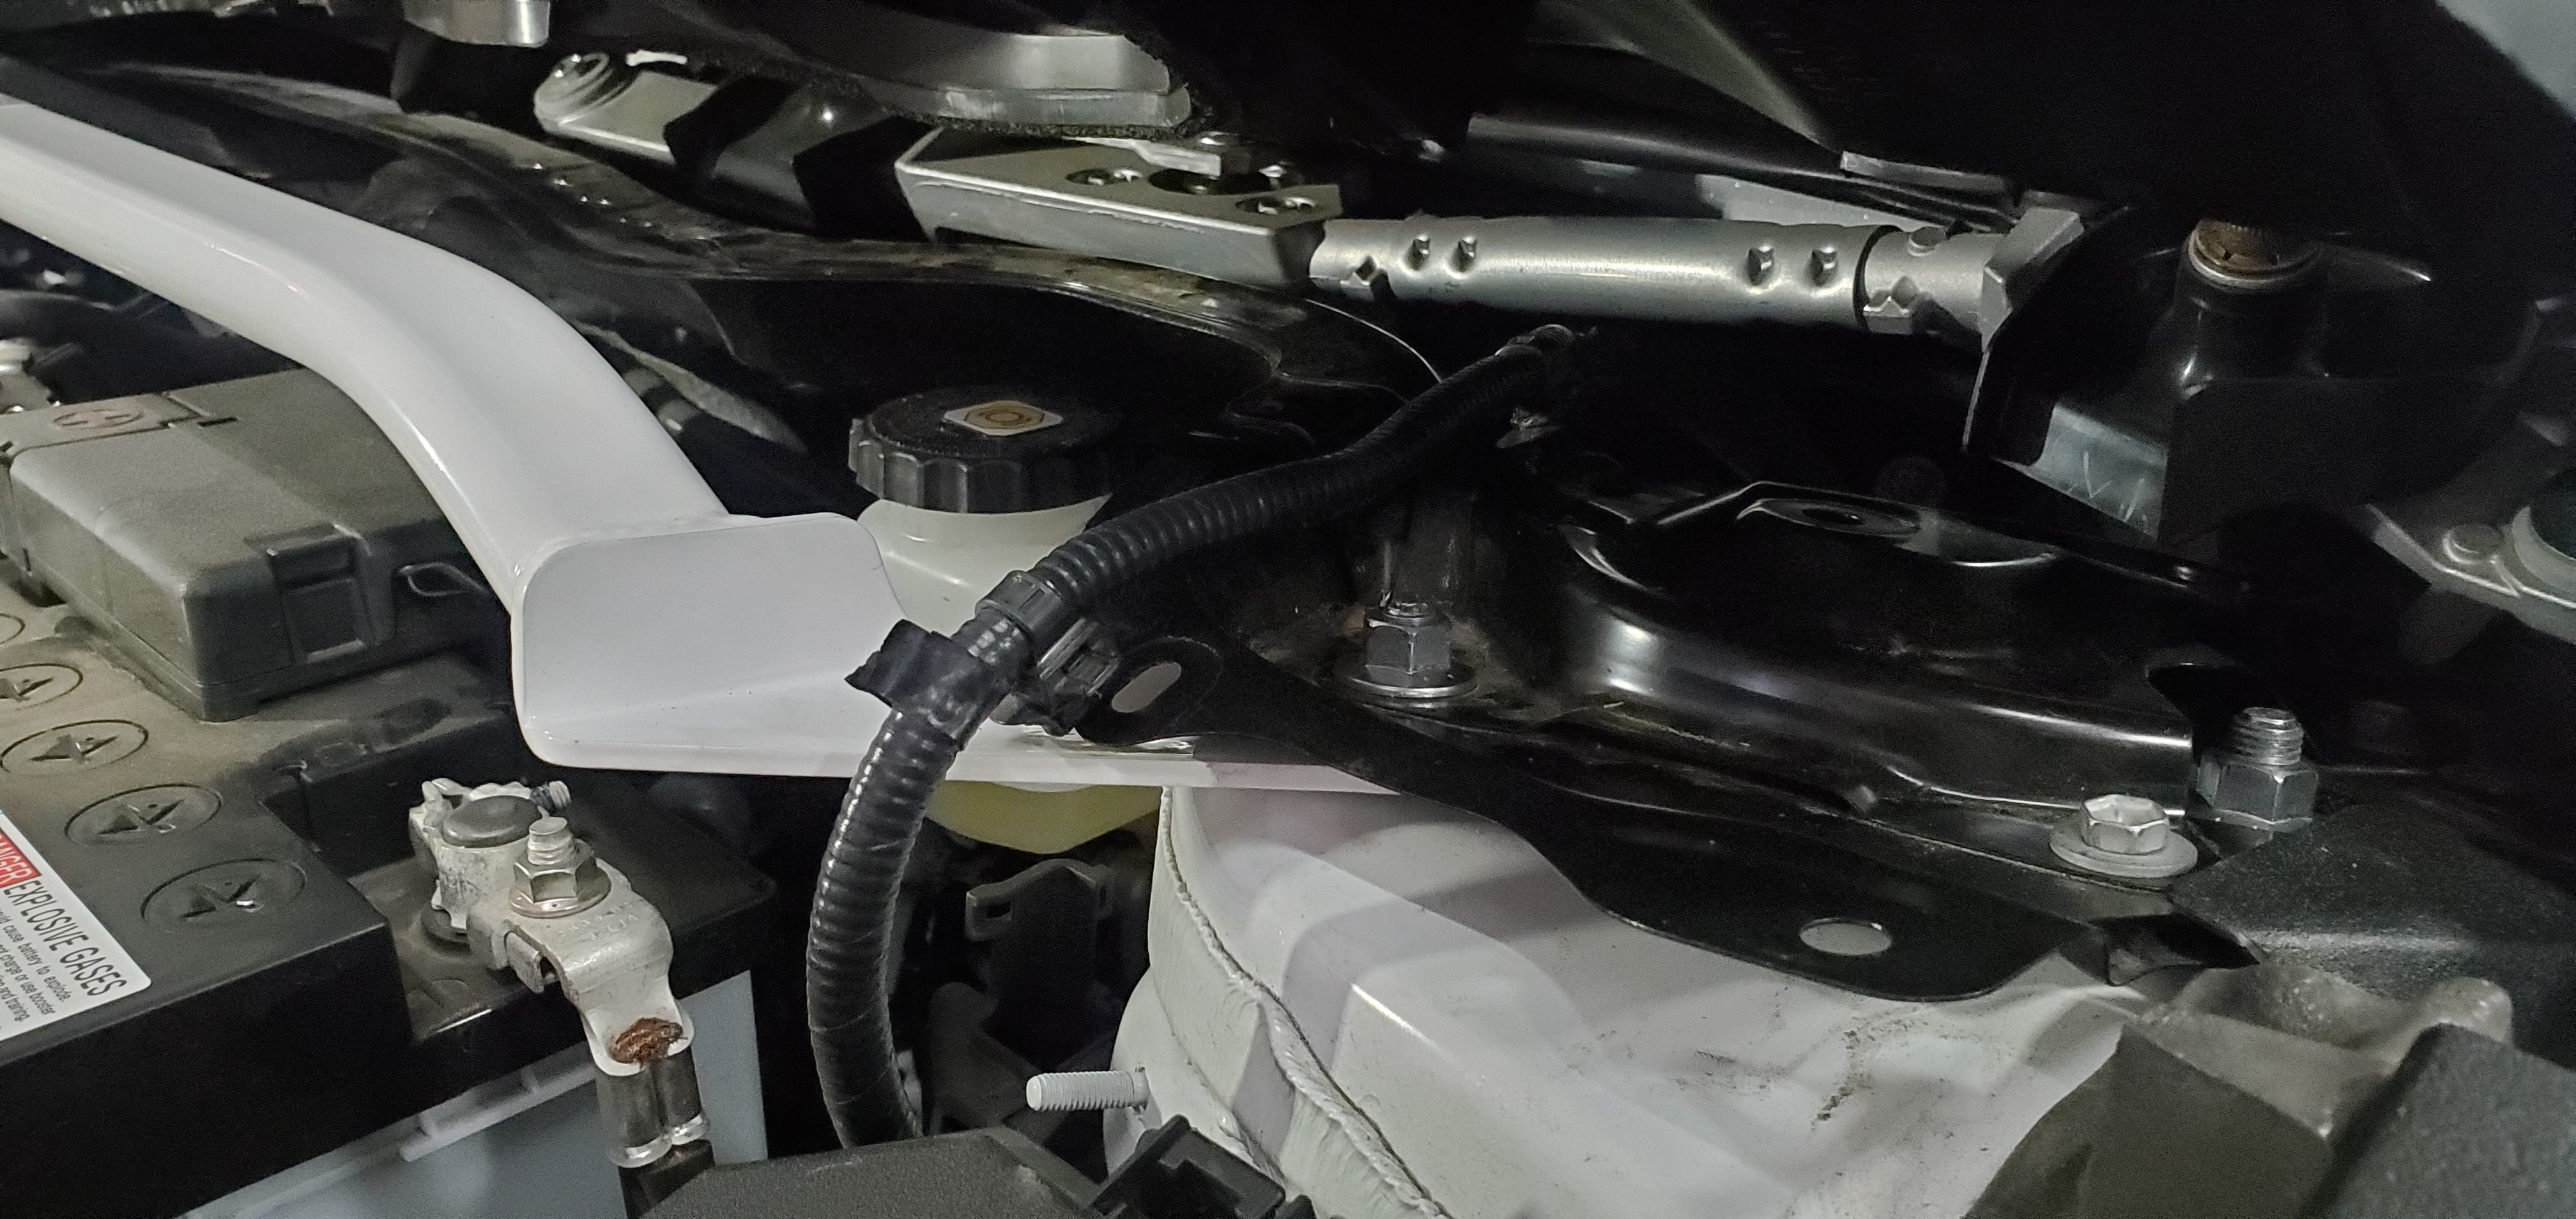
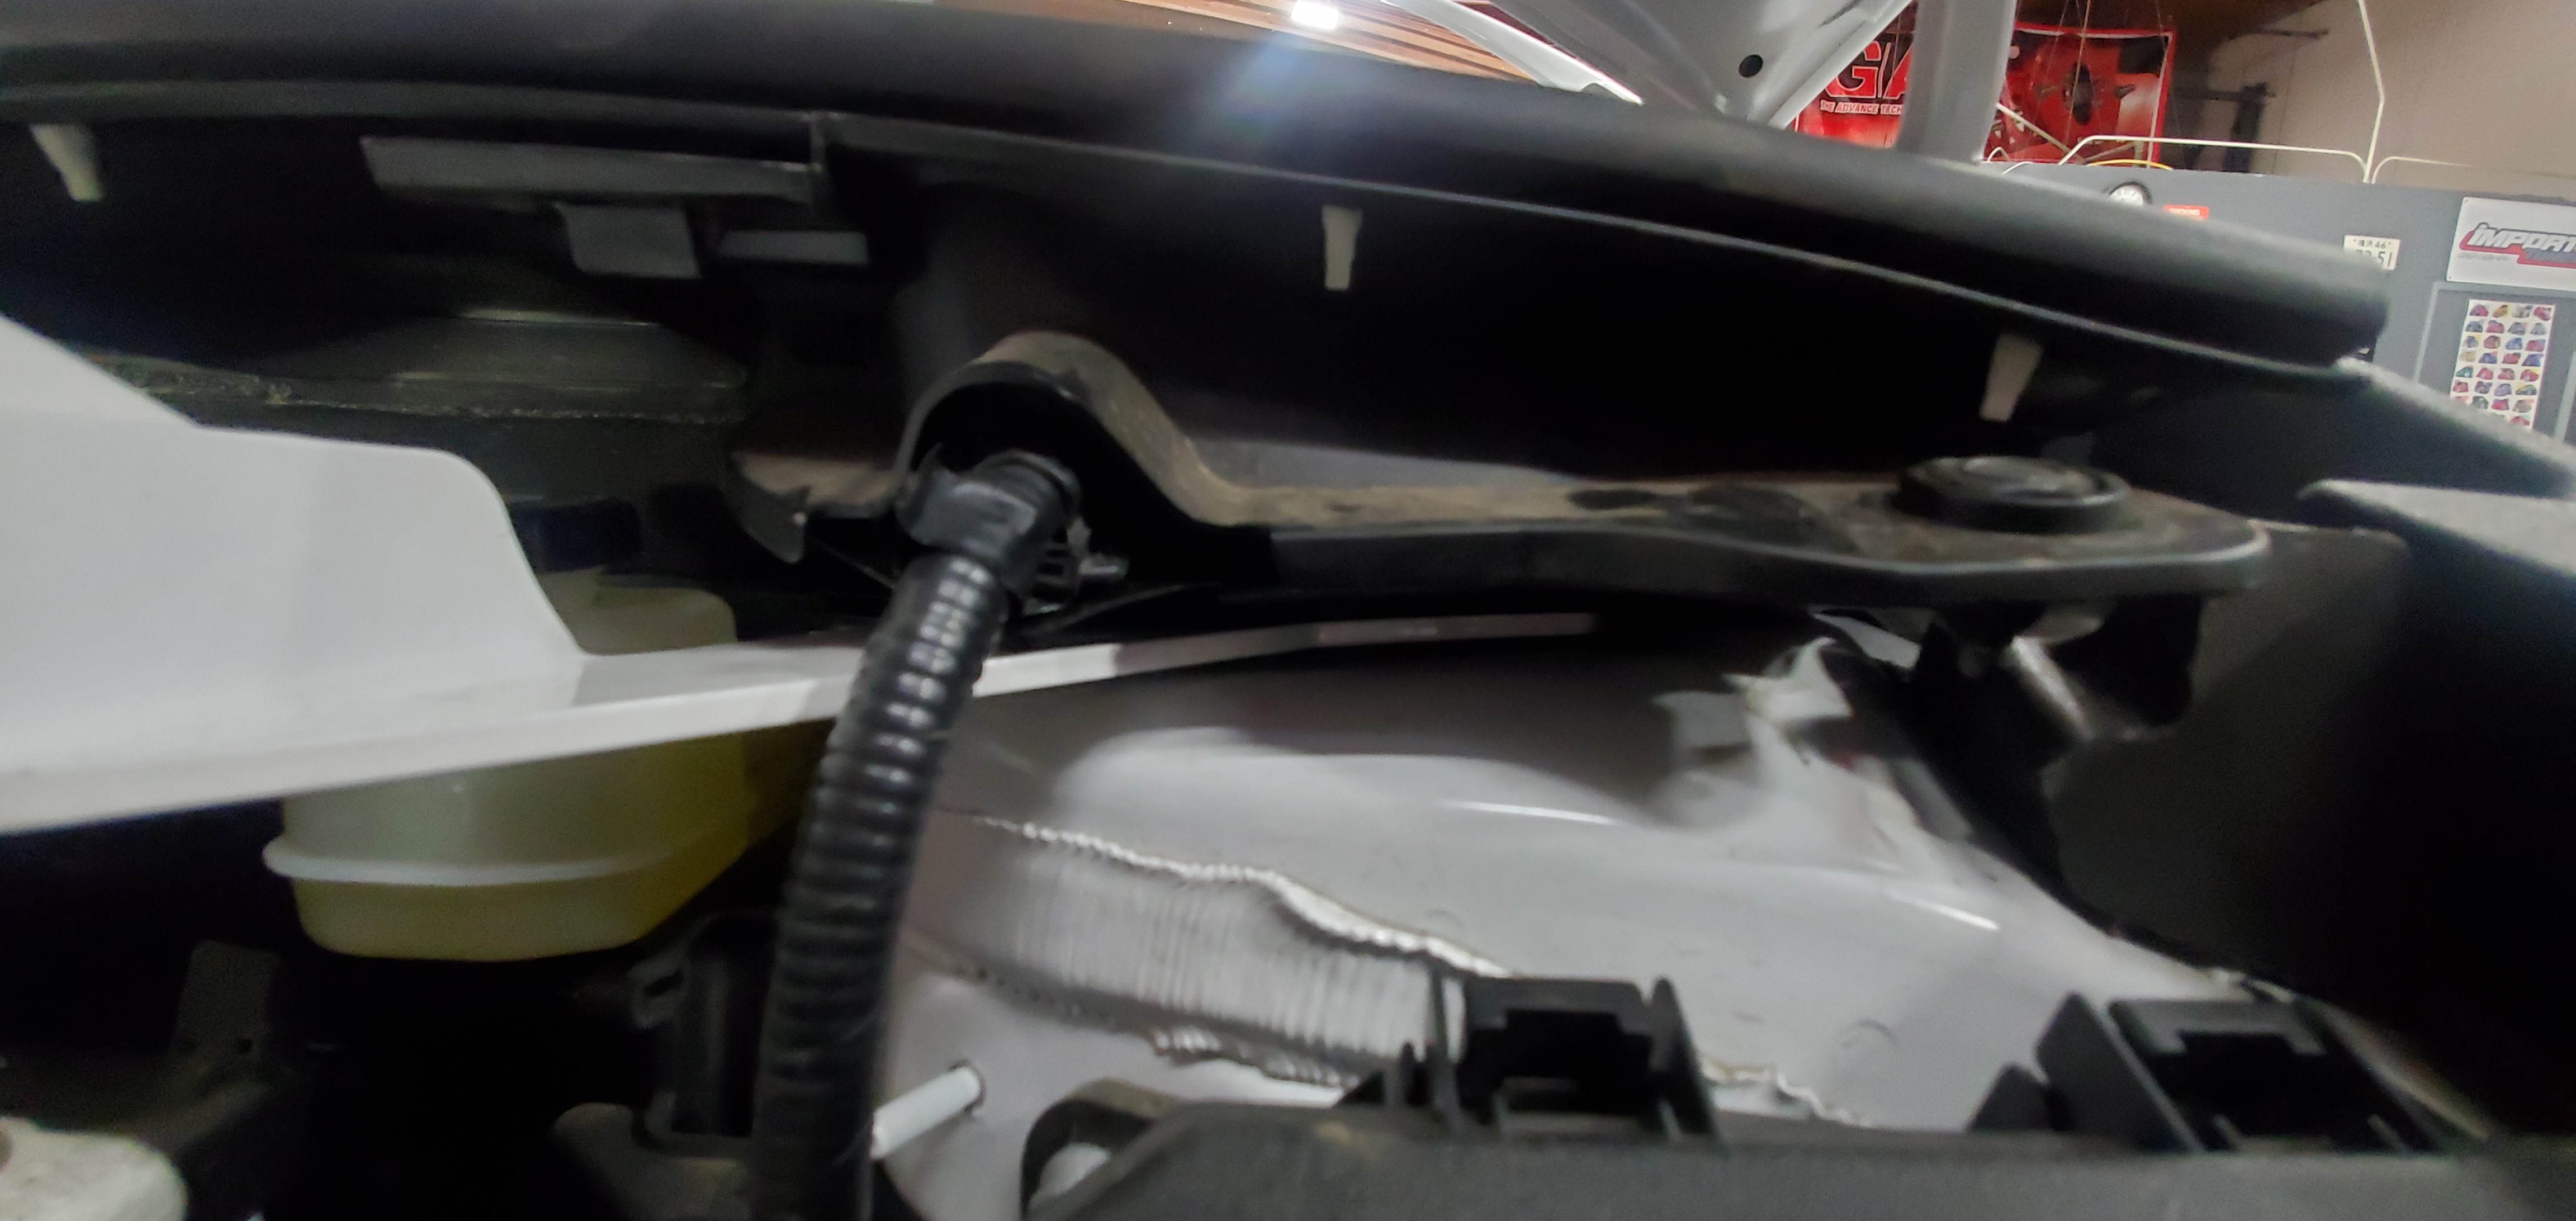
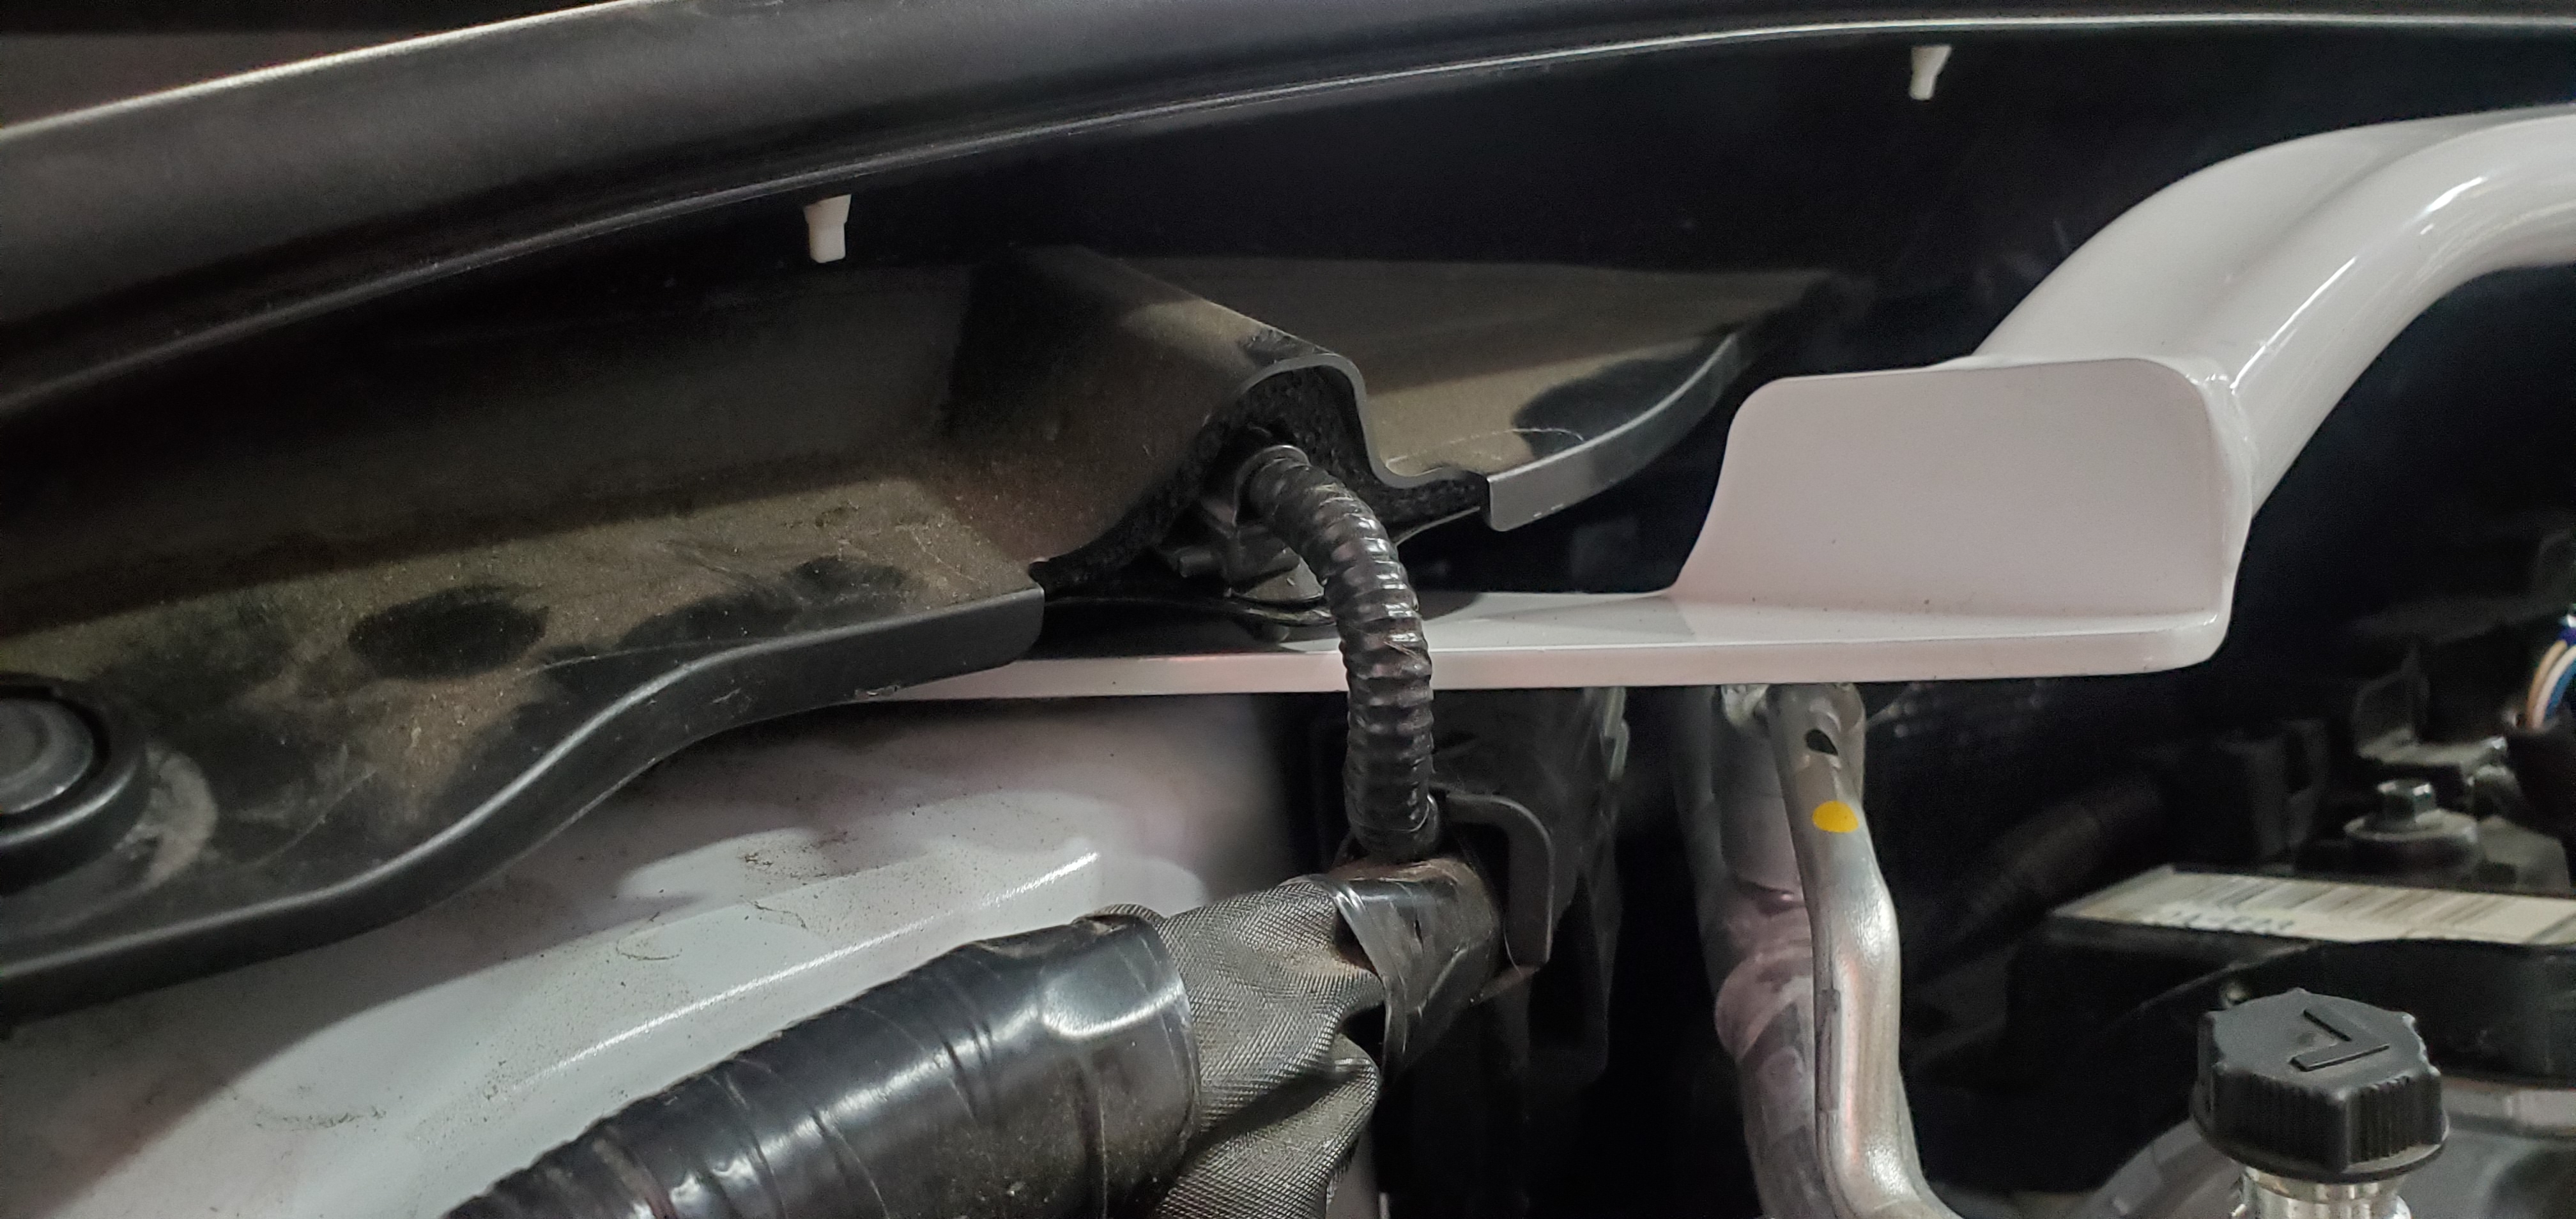
Some Corollas E210 may have additional sensors, plugs, etc. Keep in mind where those will be placed.